The CORRECT iPhone Camera Settings for Amazing Photos

Introduction
• The CORRECT iPhone Camera Settings for Amazing Photos
The iPhone camera settings play a crucial role in capturing high-quality photos. With ongoing changes and updates to iPhone settings, it's essential to stay up-to-date to maximize the potential of your device. While some settings may vary depending on the iPhone model, recent models like the iPhone 13 Pro, 14 Pro, and 15 Pro offer similar options for optimal photography.
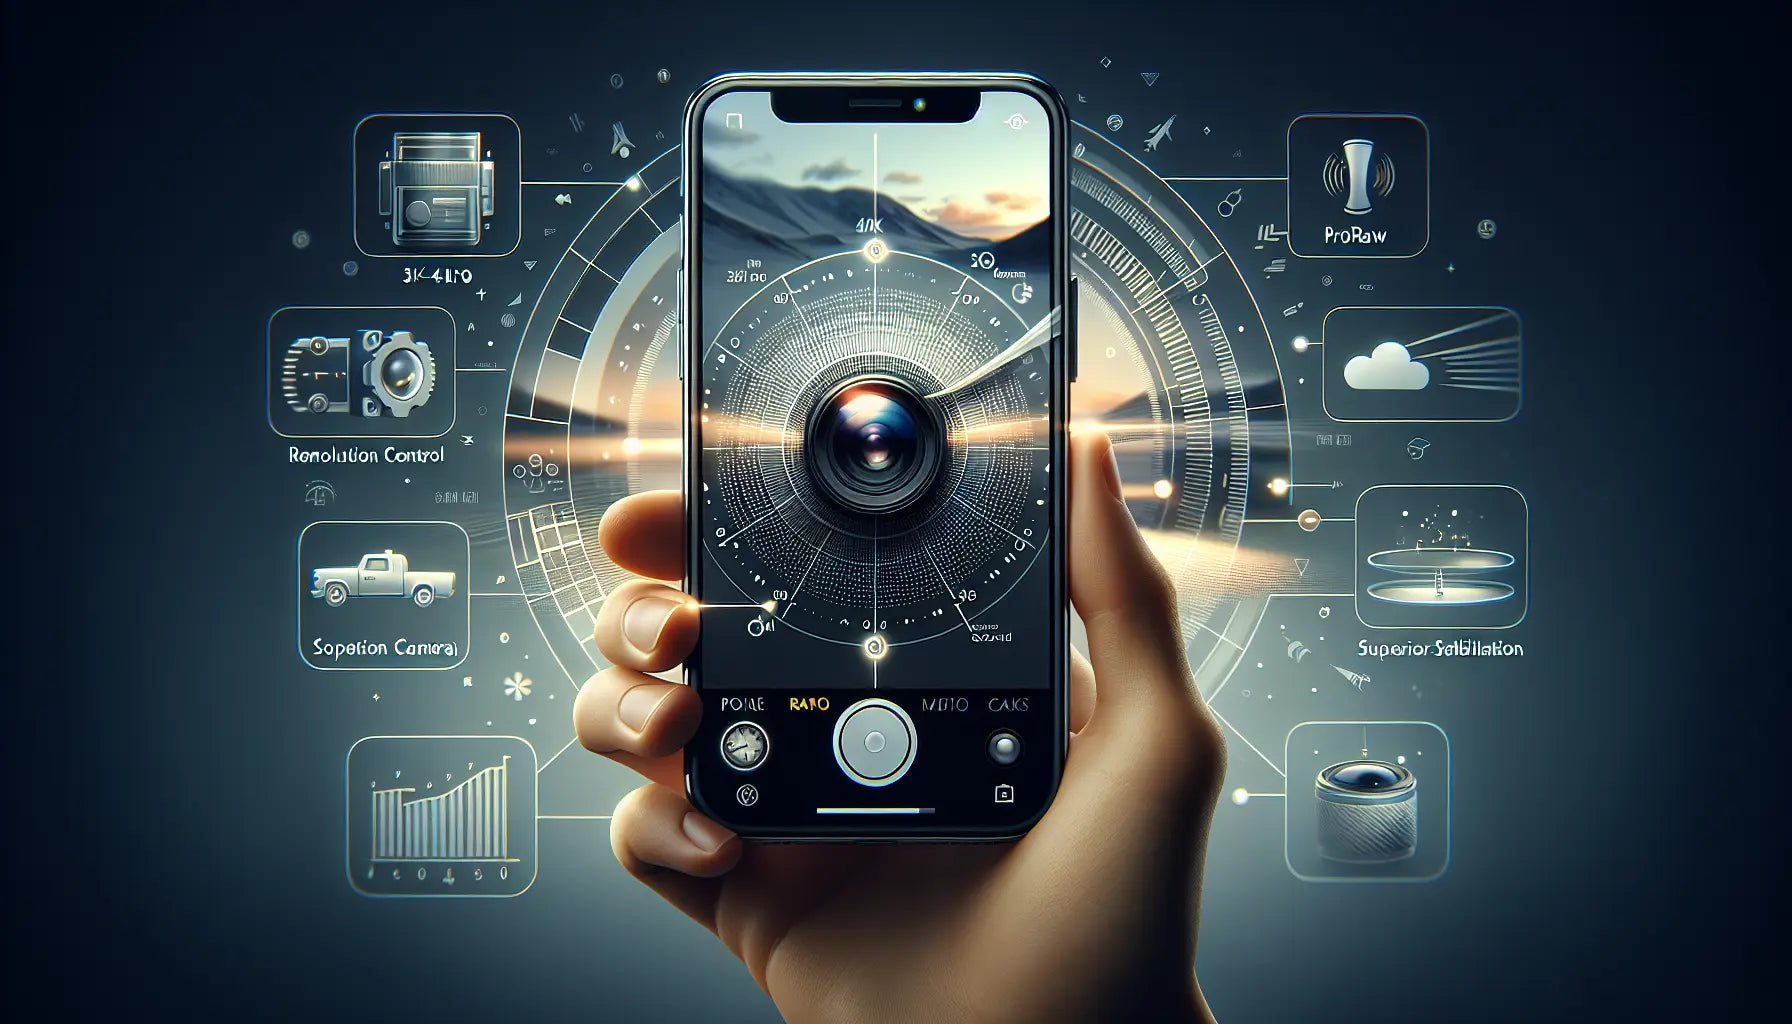
By enabling features such as ProRAW and resolution control, you can ensure that your iPhone captures the highest quality pictures with up to 48 megapixels. Additionally, preserving settings like camera mode, creative controls, and ProRes encoding can enhance your photography experience. These settings allow you to maintain consistency and make the most of your iPhone camera's capabilities.
Camera Settings Overview
When it comes to capturing amazing photos with your iPhone, it's crucial to have the correct camera settings. In this section, we will explore the various camera settings and how to optimize them for optimal photography.
• Navigating to camera settings in the iPhone
To access the camera settings on your iPhone, open the Settings app and scroll down to find the "Camera" option. Tap on it to access the camera settings.
• Video settings: 4K at 24 frames per second, enhanced stabilization, HDR video off
In the video settings, it is recommended to set the resolution to 4K at 24 frames per second for the highest quality videos. Enable enhanced stabilization for smoother footage. It is generally better to turn off HDR video as it can sometimes affect the overall quality of the footage.
• Slo-mo and cinematic settings
If you enjoy capturing slow-motion videos, the default settings for slo-mo on the iPhone should be sufficient. The cinematic mode can also be left at the default settings for most situations.
• Formats: camera capture, photo mode, ProRAW and resolution control
In the formats section, ensure that the camera capture is set to the highest efficiency option. For photo mode, select the highest resolution available, which is typically 24 megapixels. The most important setting for capturing high-quality pictures is enabling ProRAW and resolution control. This allows you to take photos with up to 48 megapixels, maximizing the capabilities of your iPhone camera.
Preserving Camera Settings
Preserving your iPhone camera settings is essential for consistent and optimal photography. By preserving these settings, you can ensure that your iPhone captures the highest quality photos and maintains consistency in your photography experience.
• Importance of preserving settings for consistent use
Preserving your camera settings allows you to maintain consistency in your photography. By keeping your settings consistent, you can easily replicate your preferred photography style and achieve a cohesive look in your photos.
• Preserving options for camera mode, creative controls, and more
Preserving settings such as camera mode, creative controls, depth controls, macro control, exposure adjustment, night mode, portrait zoom, Action mode, ProRAW, resolution control, Apple ProRes, and Live Photo is crucial for optimal photography. These settings offer various functionalities that can enhance your photography and help you capture the best shots.
• Enabling grid and level features
Enabling the grid and level features can greatly assist you in composing your shots. The grid feature helps you align your subject and maintain balance in your composition, while the level feature ensures that your camera is straight and eliminates any unwanted tilting.
• Other optional settings
In addition to the essential settings mentioned above, there are other optional settings you can preserve, such as record stereo sound, QR code, detected text, and composition. These settings can offer additional functionalities and customization options for your photography.
Adjusting Camera Settings in the Camera App
When it comes to capturing amazing photos with your iPhone, it's important to know how to adjust the camera settings within the camera app. By making the right adjustments, you can enhance the quality of your photos and customize your photography experience. Here are some key camera settings to explore:
• Setting Focal Length and RAW Options
Within the camera app, you have the ability to set the focal length of your photos. For optimal results, it is recommended to set the focal length to 1x or 24 millimeters. This will ensure that your images are captured with the desired perspective and composition. Additionally, if you prefer smaller file sizes, you can choose to shoot in RAW 12 instead of RAW Max, which captures images at 48 megapixels.
• Utilizing Flashlight and Night Mode
The camera app offers the option to enable or disable the flashlight feature. If you find yourself in a low-light situation where additional light is needed, you can enable the flashlight to illuminate your subject. On the other hand, night mode should be enabled when capturing photos in low-light environments. This feature automatically adjusts the camera settings to capture clear and well-exposed images in the dark.
• Exploring Additional Settings
Beyond the basic camera settings, there are additional options to explore. You can adjust the aspect ratio to change the dimensions of your photos, experiment with exposure settings to control the brightness of your images, utilize the timer feature for self-timer or group photos, and try out different photographic styles to achieve a specific look or mood in your photos.
It's important to note that while these additional settings provide flexibility and creative control, it is recommended to leave most settings on auto for convenience. This allows the camera app to automatically adjust the settings based on the scene and lighting conditions, ensuring that you can quickly capture high-quality photos without the need for manual adjustments.
Editing ProRAW Images in Lightroom
Once you have captured your ProRAW images with the correct iPhone camera settings, you can take your photos to the next level by editing them in Lightroom. Lightroom offers powerful tools and features that allow you to enhance your ProRAW images and give them a professional look. Here's how you can edit ProRAW images in Lightroom:
• Importing ProRAW images into Lightroom
To edit your ProRAW images in Lightroom, you first need to import them into the app. You can do this by connecting your iPhone to your computer and transferring the ProRAW files. Once the files are in Lightroom, you can start editing.
• Using presets for different looks
Lightroom offers a wide range of presets that you can apply to your ProRAW images. These presets are pre-configured settings that can instantly change the look and feel of your photos. You can choose from various presets to achieve different styles and moods in your images. Experiment with different presets to find the one that best suits your ProRAW photo.
• Adjusting lighting, exposure, highlights, shadows, color, and saturation
Lightroom provides a range of adjustment tools that allow you to fine-tune the lighting, exposure, highlights, shadows, color, and saturation of your ProRAW images. You can use these tools to correct any exposure or color issues and enhance the overall look of your photos. Play around with the different adjustment sliders to achieve the desired effect.
• Demonstrating the difference before and after editing
One of the great things about Lightroom is that it allows you to compare the original ProRAW image with the edited version. This feature helps you see the impact of your edits and make any necessary adjustments. By comparing the before and after versions, you can evaluate the improvements you've made and ensure that your ProRAW image looks its best.
By editing your ProRAW images in Lightroom, you can bring out the full potential of your iPhone's camera and create stunning, professional-looking photos. Whether you're adjusting the lighting, applying presets, or fine-tuning the color, Lightroom offers the tools and features you need to take your ProRAW images to the next level.
Applying Geometry Adjustments in Lightroom
Recognizing the need for geometry adjustments is an important step in enhancing your iPhone photos. While the iPhone camera does a great job of capturing images, sometimes the perspective or alignment may not be perfect. In such cases, applying geometry adjustments in post-processing can make a significant difference in the final result.
Straightening images and cropping can help correct any tilting or distortion in the composition. By using the geometry tools in Lightroom, you can easily align the subject and make the image appear more balanced. This adjustment can greatly improve the overall aesthetics and visual appeal of your photo.
Furthermore, showcasing the impact of geometry adjustments on the image can be a powerful way to demonstrate the transformation achieved through ProRAW and post-processing. By comparing the original image with the edited version, you can highlight the difference in perspective, alignment, and overall composition.
It's important to note that while applying geometry adjustments, it's crucial to maintain the natural look of the image. Avoid overediting or making excessive corrections that may make the photo appear unnatural or distorted. The goal is to enhance the image while preserving its authenticity.
By combining the correct iPhone camera settings, shooting in ProRAW, and applying geometry adjustments in Lightroom, you can take your iPhone photography to the next level. The transformation achieved through these steps can result in stunning, professional-looking photos that rival those captured with traditional cameras.
Conclusion and Gentleman's Agreement
In conclusion, understanding and implementing the correct iPhone camera settings is crucial for capturing amazing photos. By following the steps outlined in this newsletter, you can optimize your iPhone camera settings to ensure the highest quality images.
Remember, it's a two-step process. First, set up your iPhone settings according to the recommended options, such as enabling ProRAW and resolution control. Second, bring your ProRAW images into a post-processing app like Lightroom to further enhance and customize your photos.
As part of the Gentleman's Agreement, the author kindly asks viewers to like, subscribe, and comment on the content. By engaging with the content, you can show your appreciation and support for the valuable educational information provided. Your feedback and interaction contribute to the growth and success of the content creator.
Don't forget to follow the author on social media platforms like Instagram and Twitter for more photography-related content and updates. By subscribing, you can stay informed about future newsletter posts, videos, and tutorials.
FAQ
1. Can these settings be applied to older iPhone models?
No, these settings are specifically for recent iPhone models like the iPhone 13 Pro, 14 Pro, and 15 Pro. Older iPhone models may have different options and features available.
2. Is it necessary to use Lightroom for editing ProRAW images?
No, Lightroom is just one of many post-processing apps available. You can use other apps that support ProRAW files to edit your images.
3. Can presets from other sources be used?
Yes, you can use presets from other sources to edit your ProRAW images. Presets are pre-configured settings that can instantly change the look and feel of your photos.
4. Are there alternative post-processing apps to consider?
Yes, there are many alternative post-processing apps that you can consider, such as Snapseed, Adobe Photoshop Express, VSCO, and many more. It's important to find an app that offers the tools and features you need to enhance your ProRAW images.


